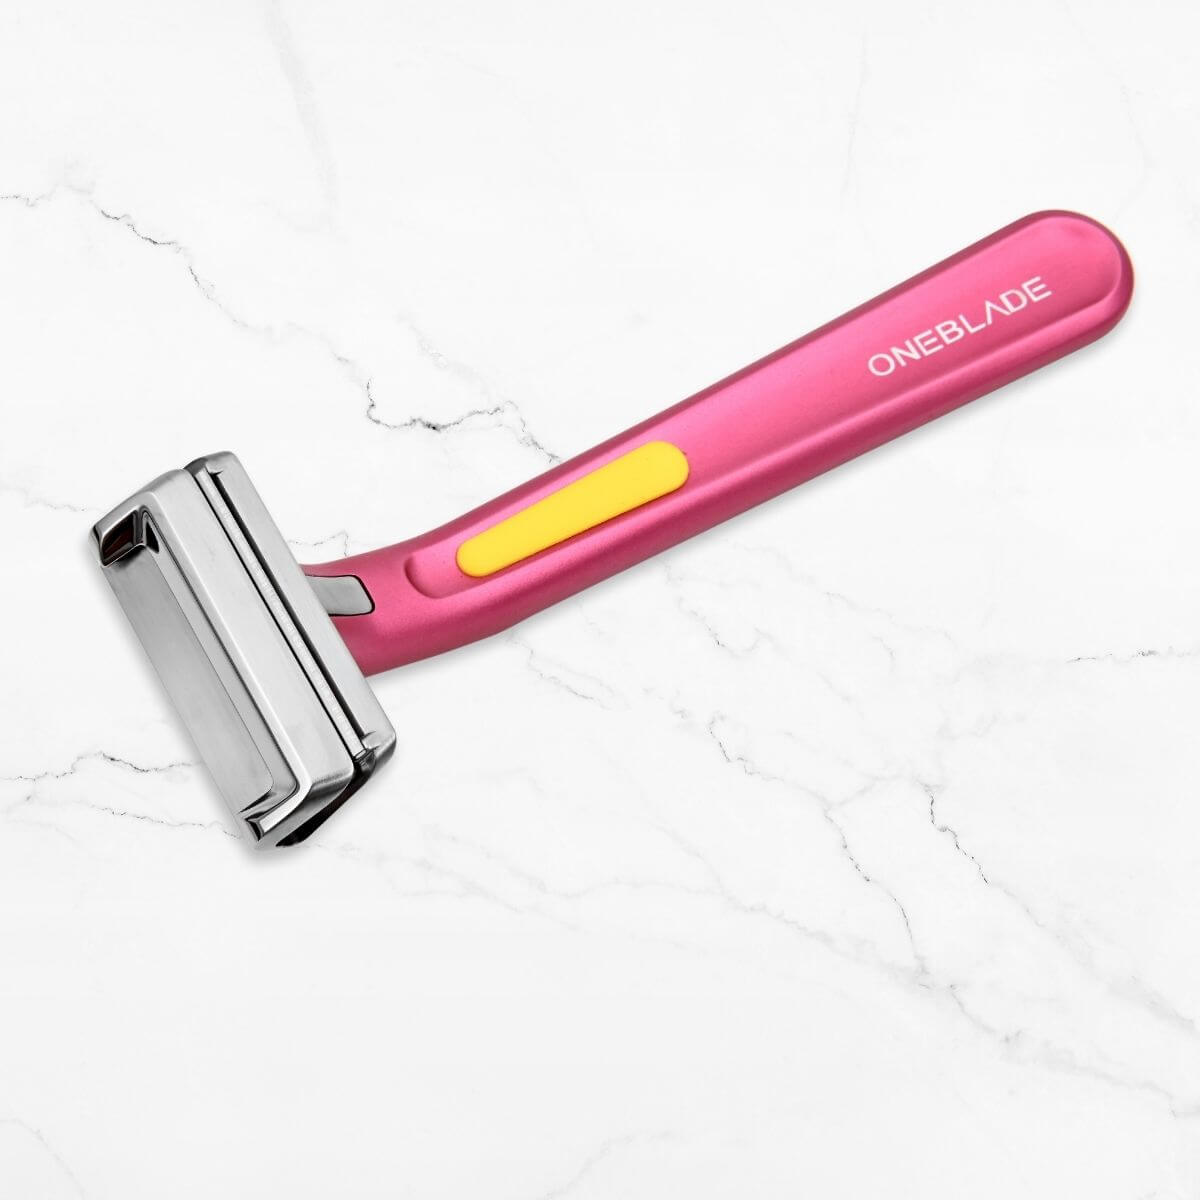
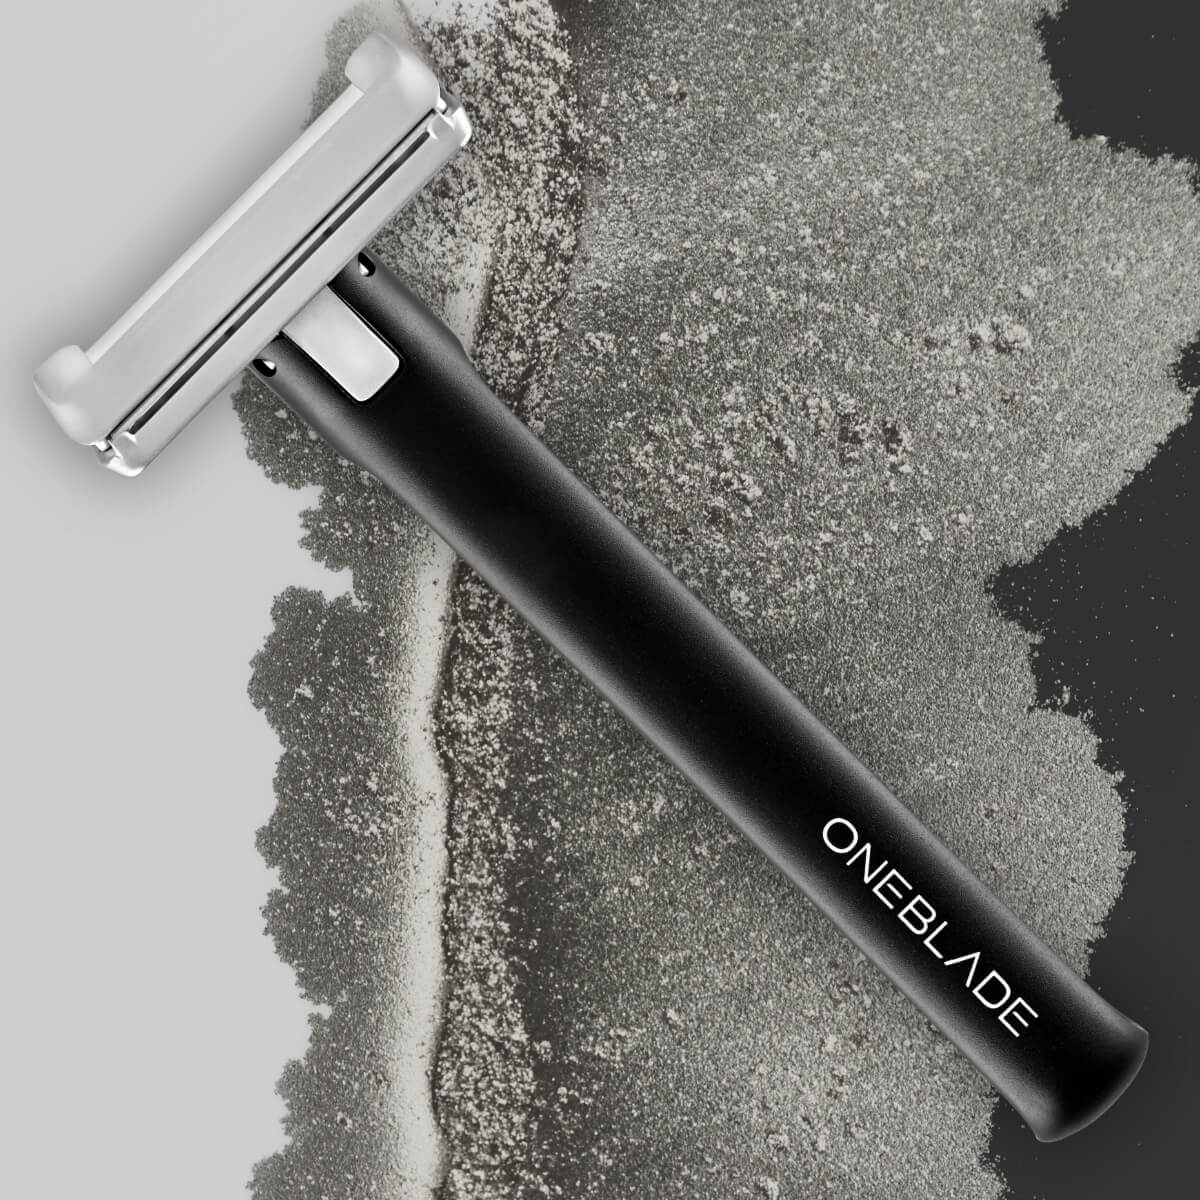


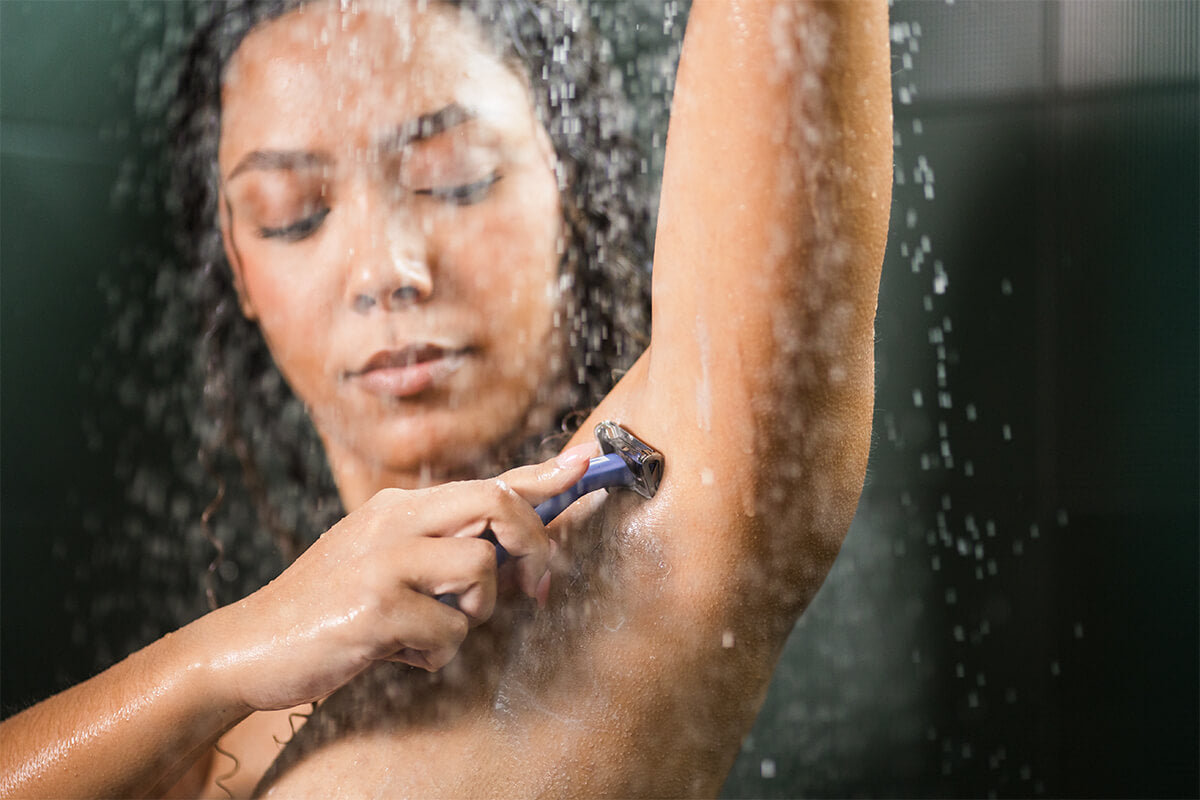


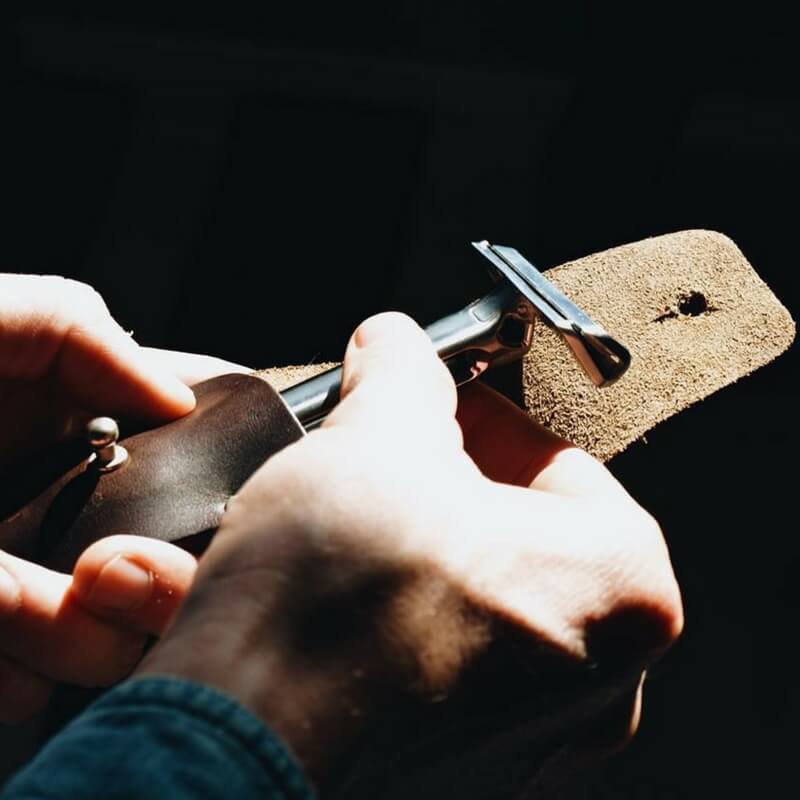
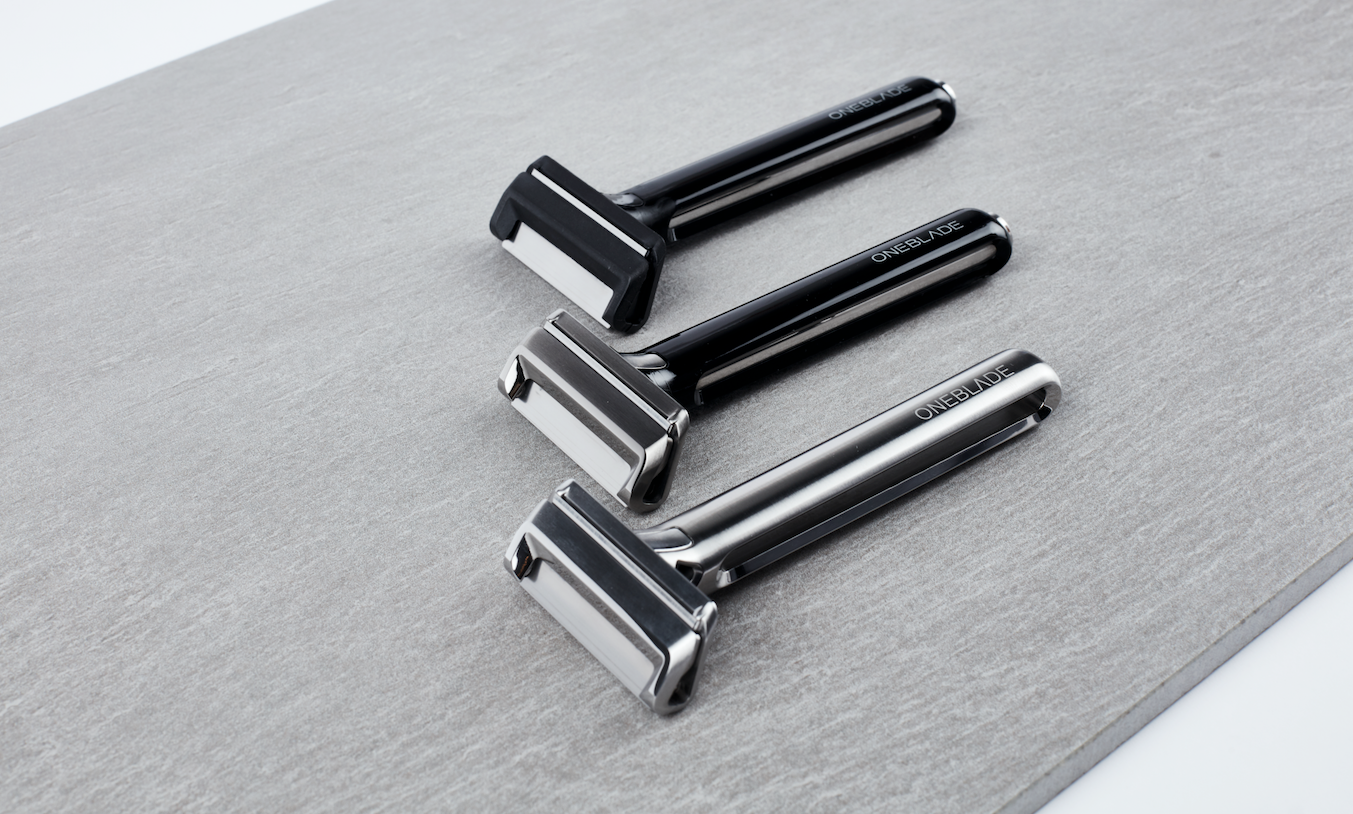
Welcome to our comprehensive guide on razor cleaning! Whether you've just purchased your OneBlade Safety Razor, or are tired of dealing with stubborn shaving cream residue on your razor, having the knowledge to properly clean and maintain one of your most frequently used tools is essential. Overtime, shaving cream residue is bound to build up on your razor. To remove the residue and to make your razor look brand new, we’ve outlined a simple cleaning process. In this guide, we'll walk you through a simple yet effective process to keep your razor looking and feeling brand new. Say goodbye to gunk and hello to a cleaner, smoother shave.
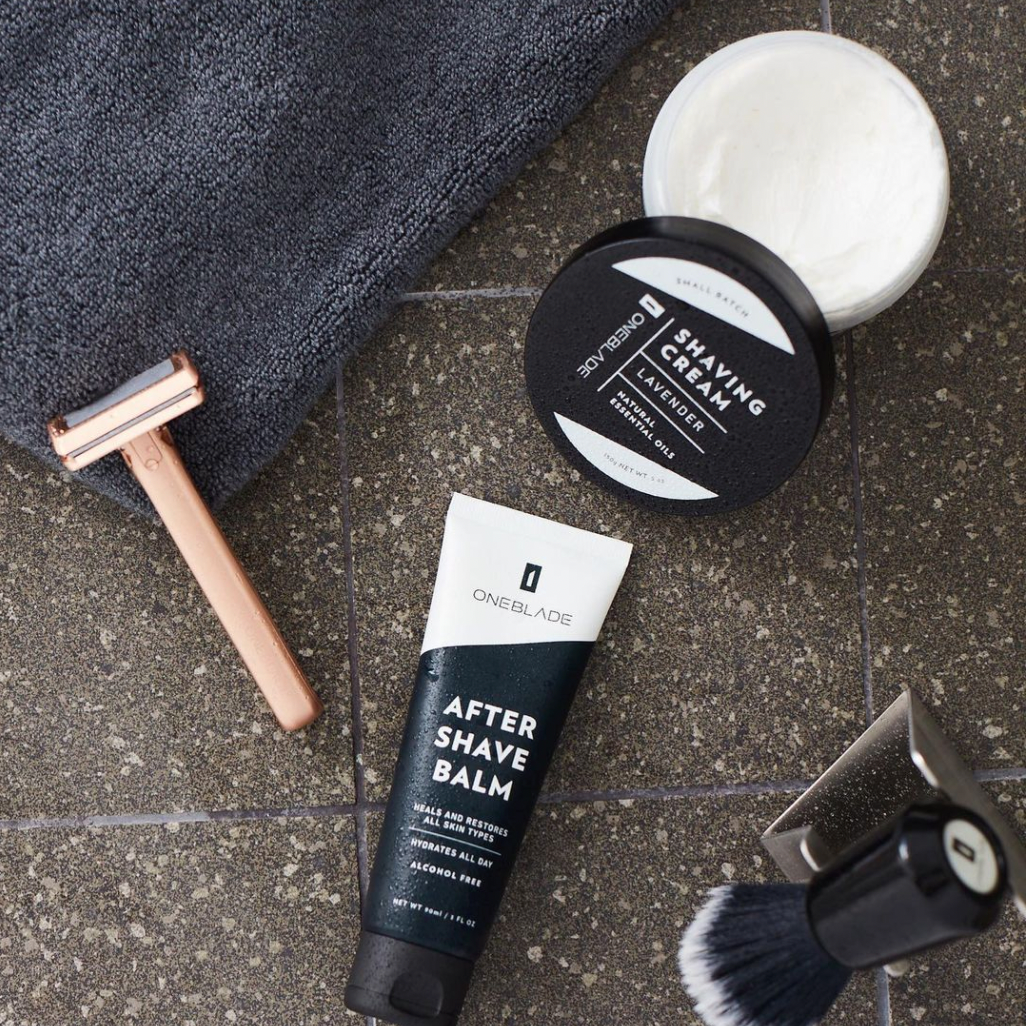
What You'll Need to Clean Your Razor:
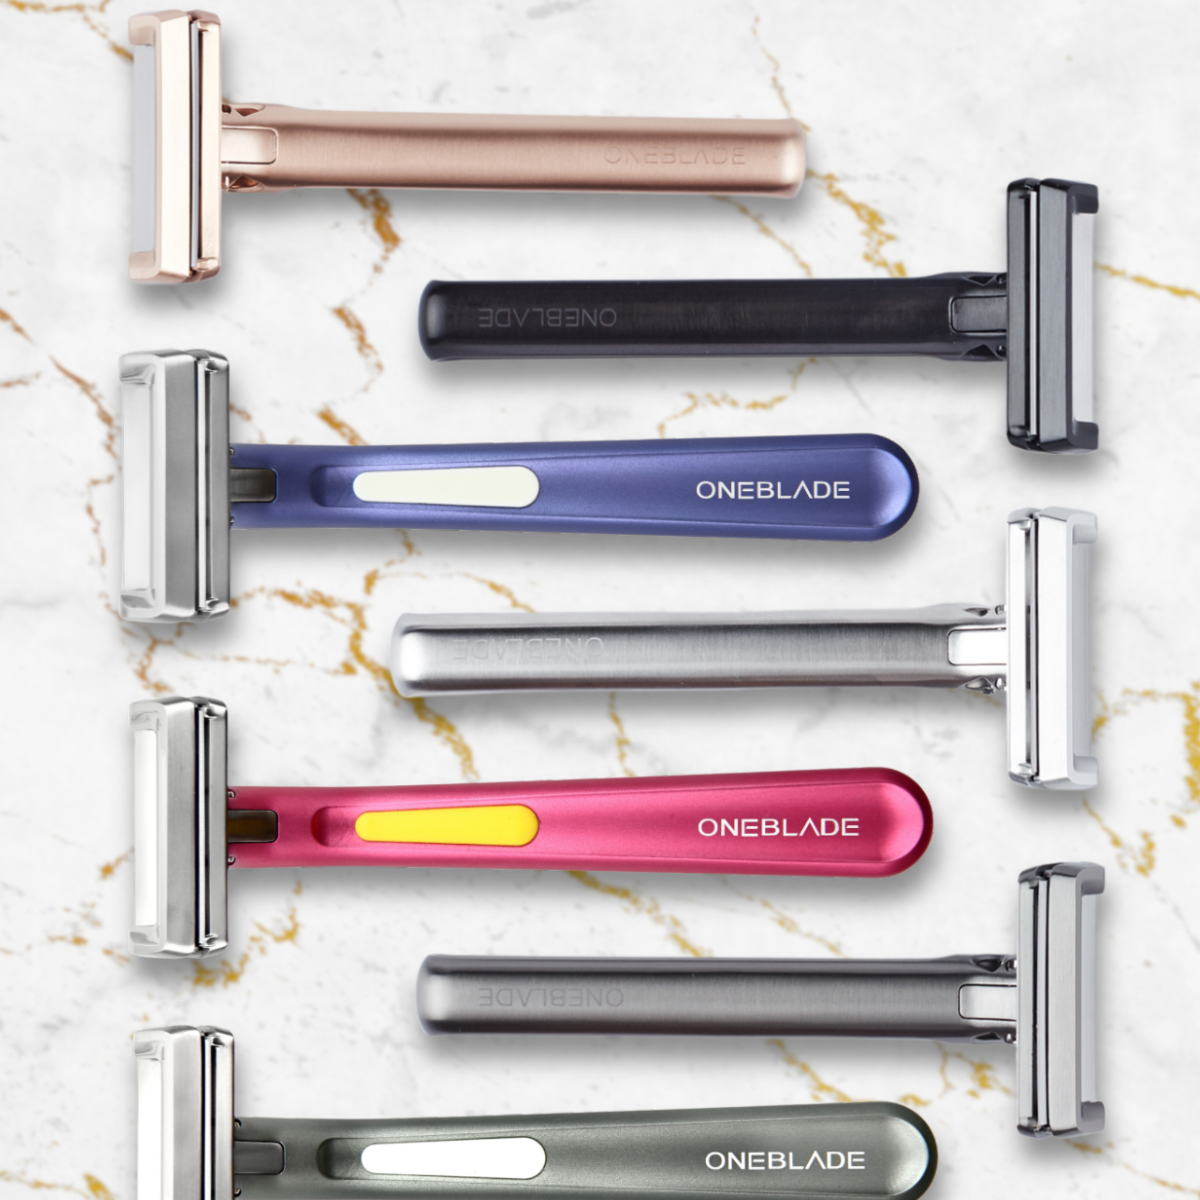
- Your Razor
- Simple Green Cleaning Solution
- Water
- Shallow Dish or Container
- Toothbrush
- Microfiber or Cotton Towel
The Razor Cleaning Process
Step-by-Step Guide to Cleaning Your Razor
1. MIX - Simple Green & Water Mixture

Creating the perfect cleaning solution is the first step in revitalizing your razor. In a shallow container, combine equal parts of Simple Green cleaning solution or any alternative solution that isn't designed to remove tarnish or rust and doesn't contain harsh acids or caustic agents. Simple Green's powerful formula aids in breaking down residue while being gentle on your razor's surface. Ensure there's enough liquid to fully submerge your razor.
2. SOAK - Submerge Your Razor
Once your cleaning solution is ready, it's time to immerse your razor for a deep cleanse. Carefully place your razor into the mixture, ensuring it's completely submerged. Allow it to soak overnight to maximize the solution's effectiveness in dissolving stubborn residue and grime. This extended soaking period ensures thorough cleansing, leaving your razor looking and feeling brand new.

4. Scrub Your Razor with a Toothbrush
In the morning, armed with a soft-bristled toothbrush, gently scrub your razor to dislodge any remaining residue. Take care to cover all areas, including the crevices, to ensure a comprehensive clean. The toothbrush's bristles provide the perfect balance of scrubbing power without causing damage to your razor's components.
5. RINSE - Rinse & Inspect Your Razor

After the scrubbing process, thoroughly rinse your razor under warm water to remove any traces of the cleaning solution. Ensure all residues are washed away, leaving behind a squeaky-clean razor. This step is crucial in preventing any potential skin irritation or discomfort caused by leftover cleaning agents.
Dry Your Razor
To complete the cleaning process, pat your razor dry using a soft, absorbent microfiber or cotton towel. Avoid using paper products as they may leave behind fibers or scratch the surface of your razor. Ensure your razor is completely dry before storing it to prevent rust or corrosion, thus prolonging its lifespan.
Razor Cleaning Trouble Shooting Tips
Even with thorough cleaning, some stubborn residues may persist. Here are some additional tips to tackle those pesky leftovers and ensure your razor remains in pristine condition:
Use Filtered or Bottled Water
Hard water can leave mineral deposits, making cleaning more challenging. Consider using filtered or bottled water to avoid this issue and achieve a more thorough clean.
Extend Soaking Time
For particularly stubborn residues, extend the soaking time up to 12 hours. This prolonged exposure to the cleaning solution will help break down tough buildup, leaving your razor immaculately clean.
Opt for a Firmer Bristled Toothbrush
If gentle scrubbing isn't cutting it, switch to a toothbrush with firmer bristles. The increased scrubbing power will effectively dislodge stubborn residues without compromising your razor's integrity.
Go Clean Your Razor, Your Skin Will Thank You
By following our straightforward guide, maintaining a razor that's clean and free from residue is now effortlessly achievable. Integrate these steps into your grooming regimen to enjoy a consistently smoother and more hygienic shaving experience. Bid farewell to unwanted gunk and welcome a cleaner, more comfortable shave every time.