


How to Wet Shave with a Safety Razor: The Full Guide
As wet shaving enters the modern zeitgeist and returns to popularity, shaving has now become so much more— it’s a mindful ritual, instead of a rushed routine. Here, we’ll take you through the basics of how to properly wet shave with a OneBlade Single-Blade Safety Razor.
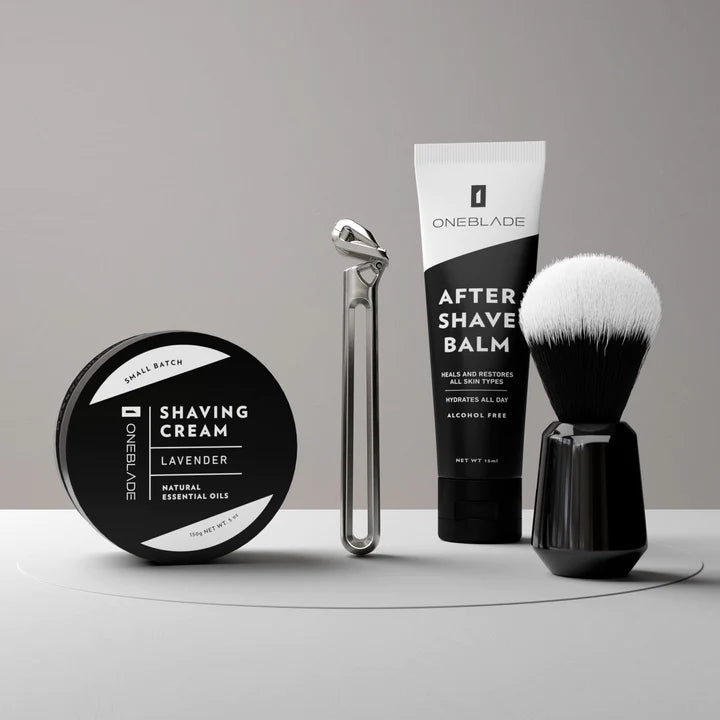
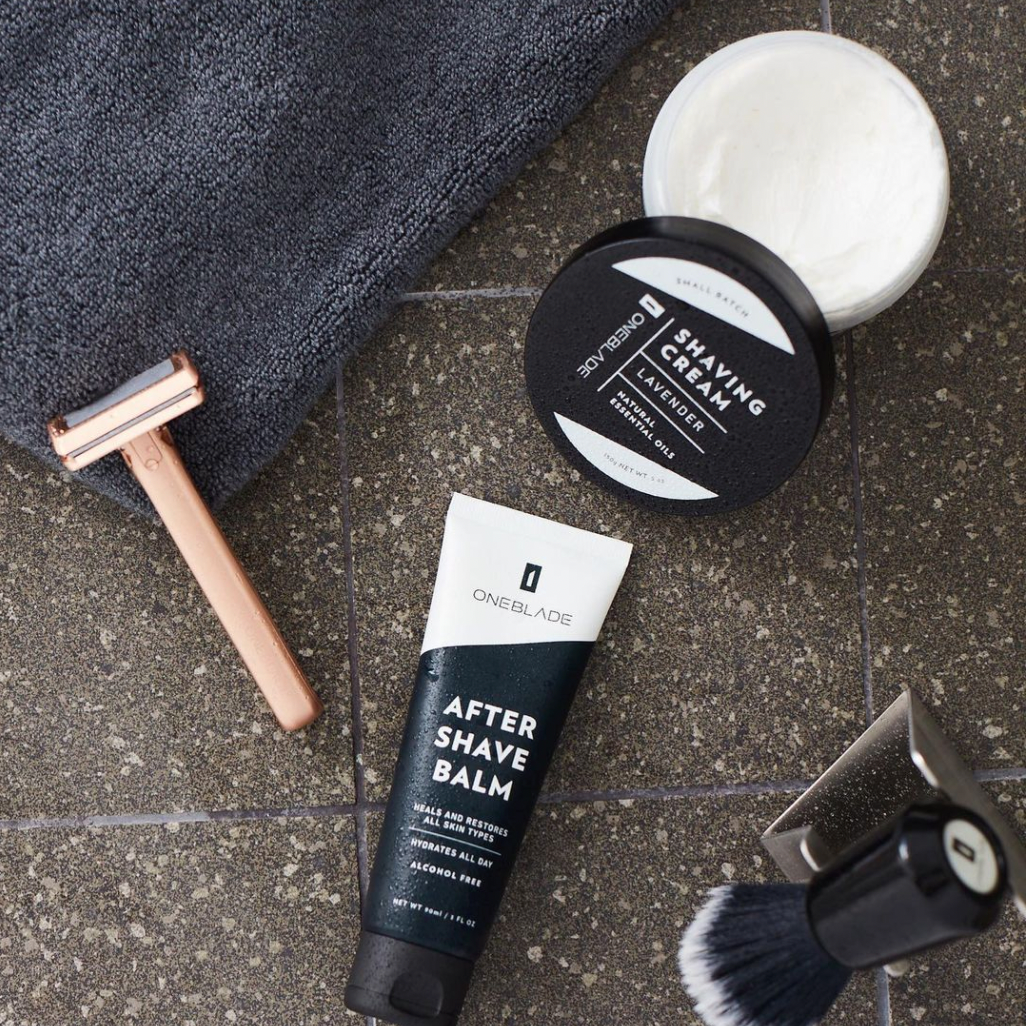
WET SHAVING SUPPLIES YOU’LL NEED:

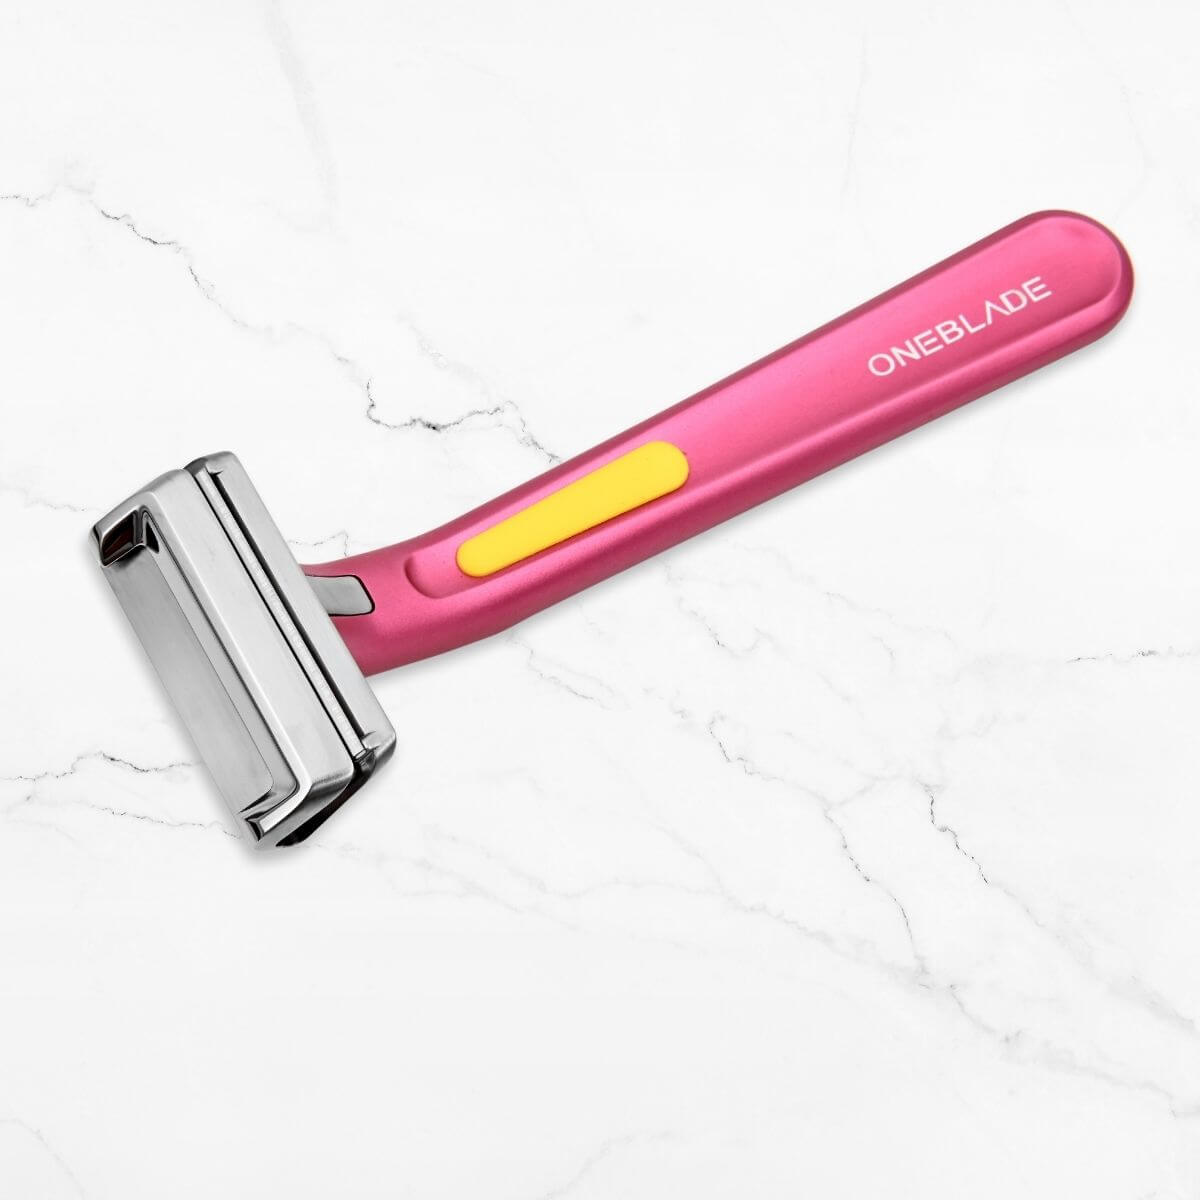
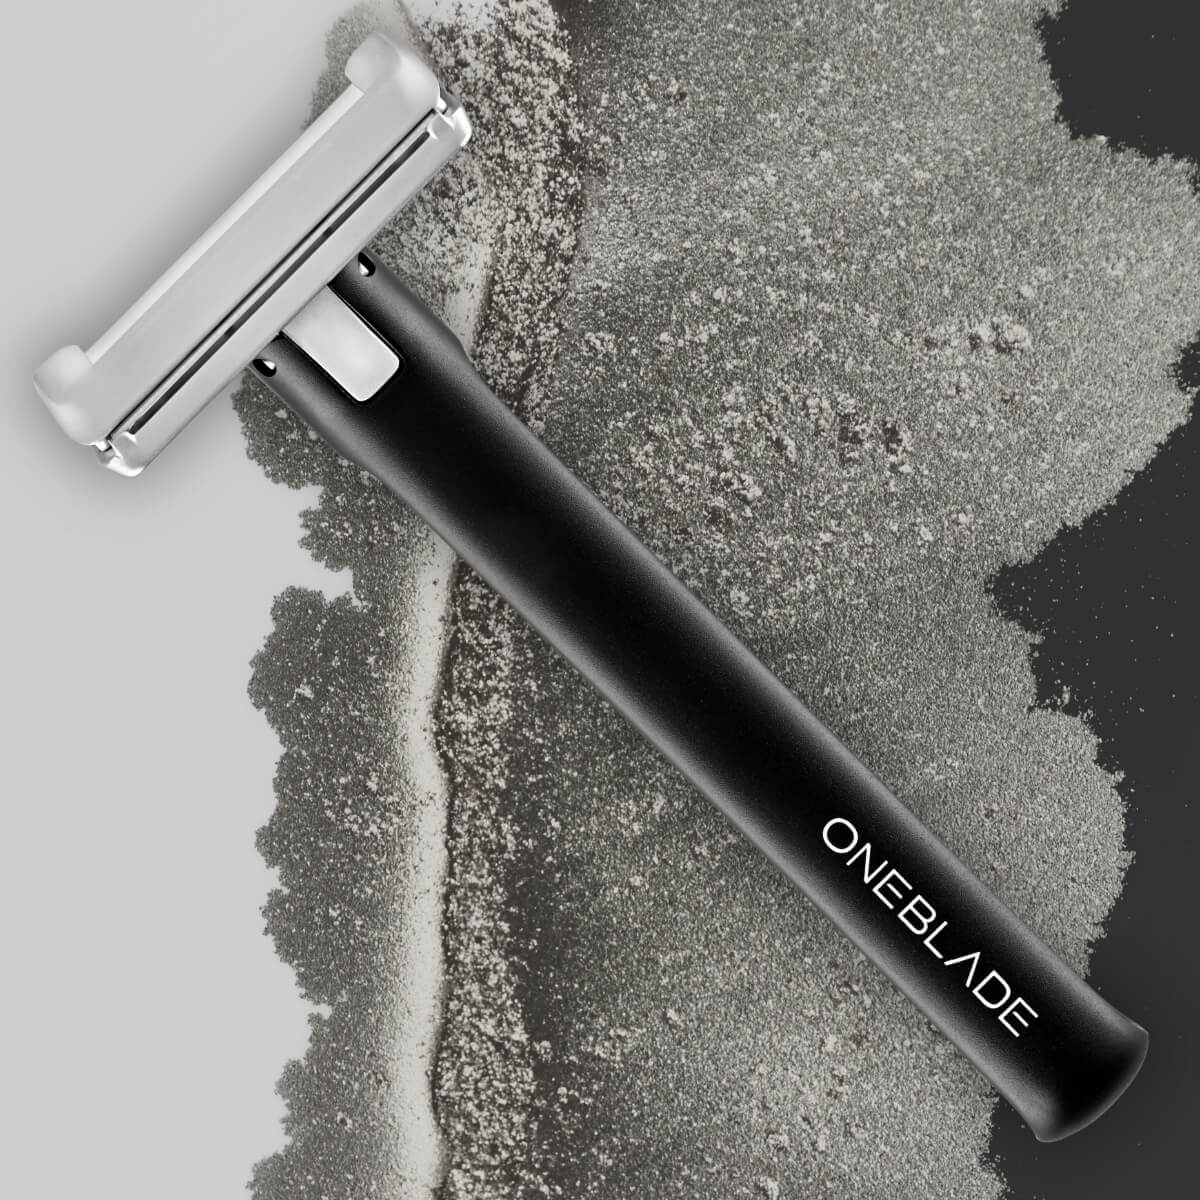
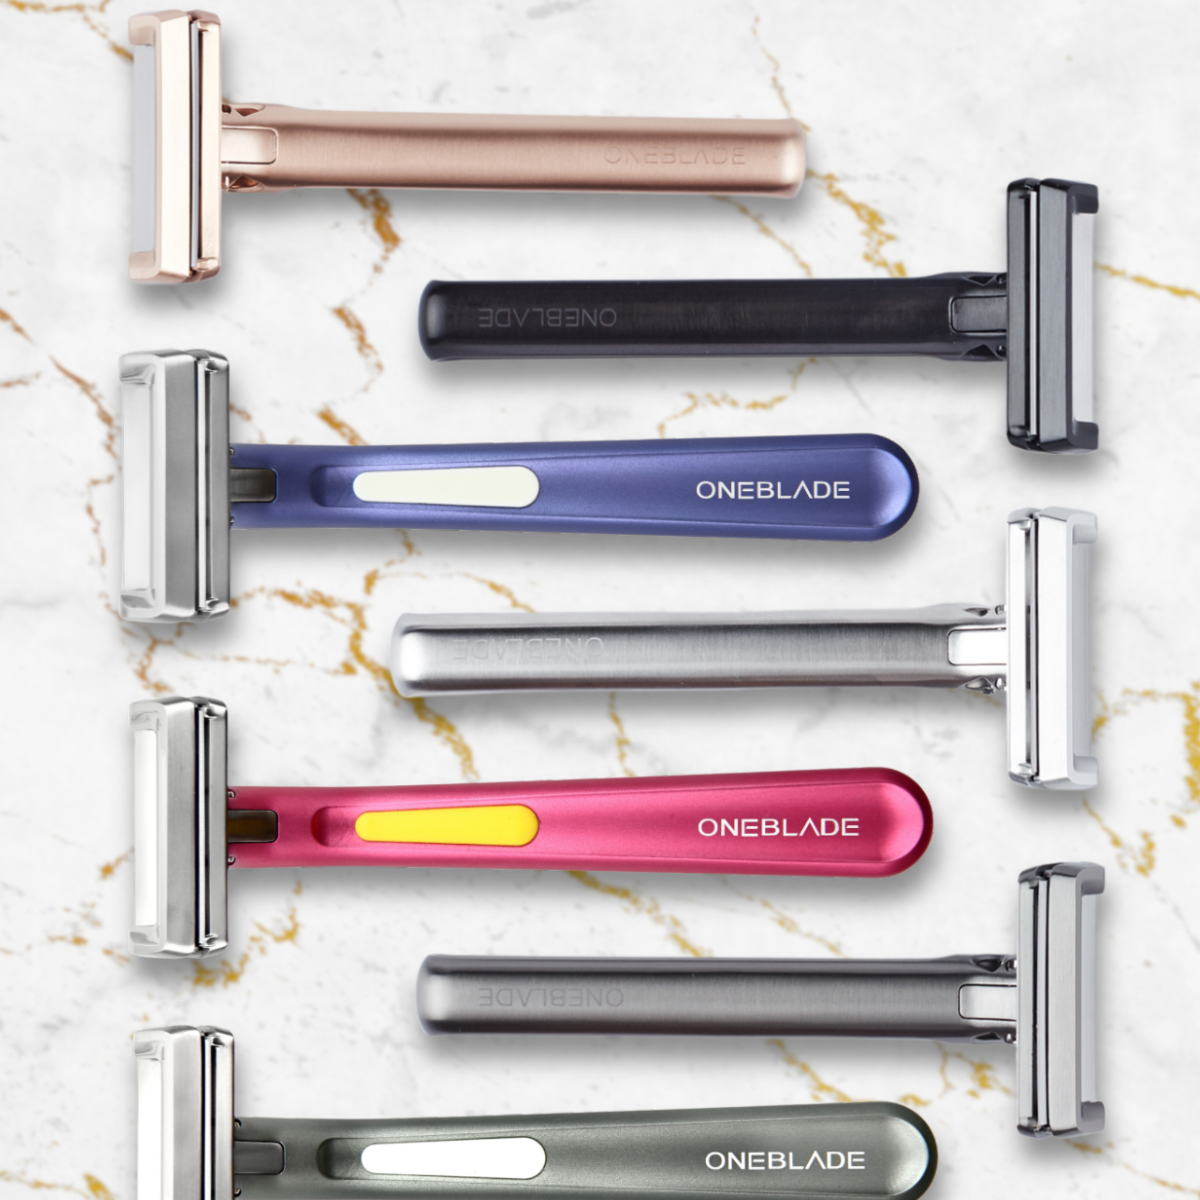
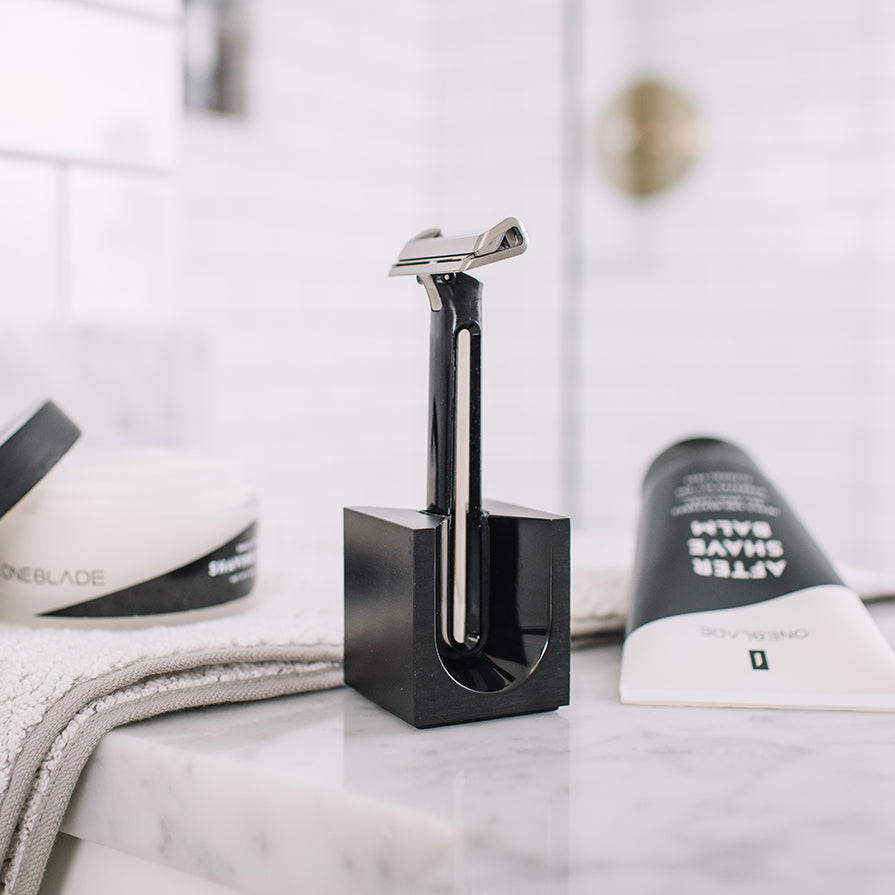
- Your OneBlade safety razor
- Pre-shave oil (optional)
- Washcloth (optional)
- Bowl
- Shaving brush
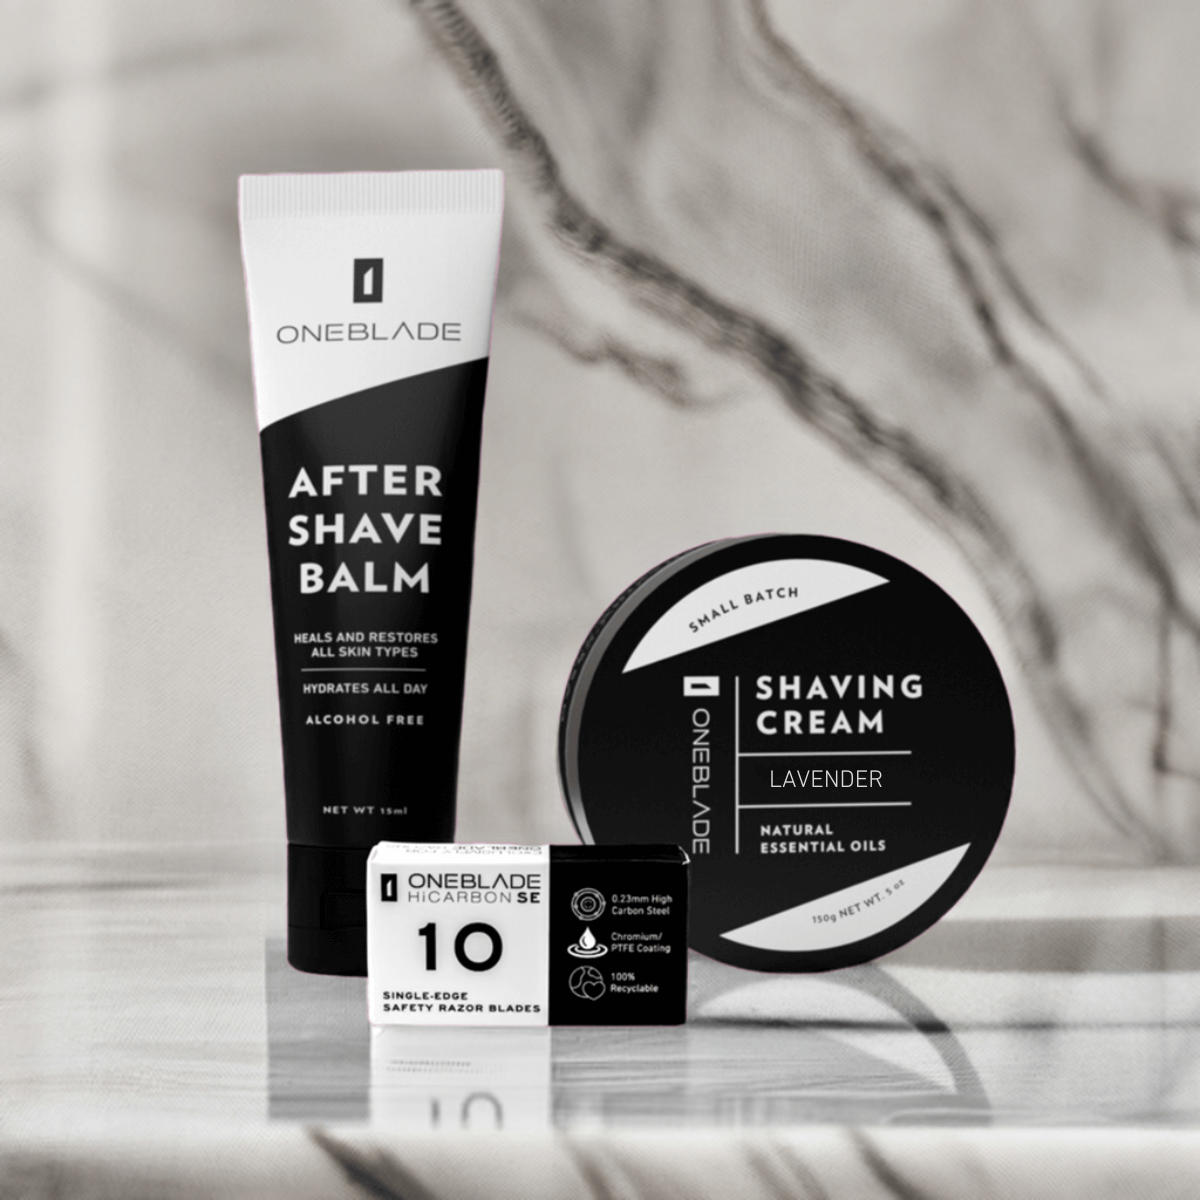
- Shaving cream
- After shave
STEP 1: PREP YOUR SKIN OR SHAVING AREA FOR SUCCESS

Gather all materials. Then prep the skin with warm water by either showering beforehand, washing your face or placing a warm washcloth over the skin. This will help open the pores, soften hair and prevent irritation, allowing your safety razor to work at it's maximum potential. Another optional step is pre-shave oil, which lubricates the skin further.
TIP: Don’t forget to prep the neck!
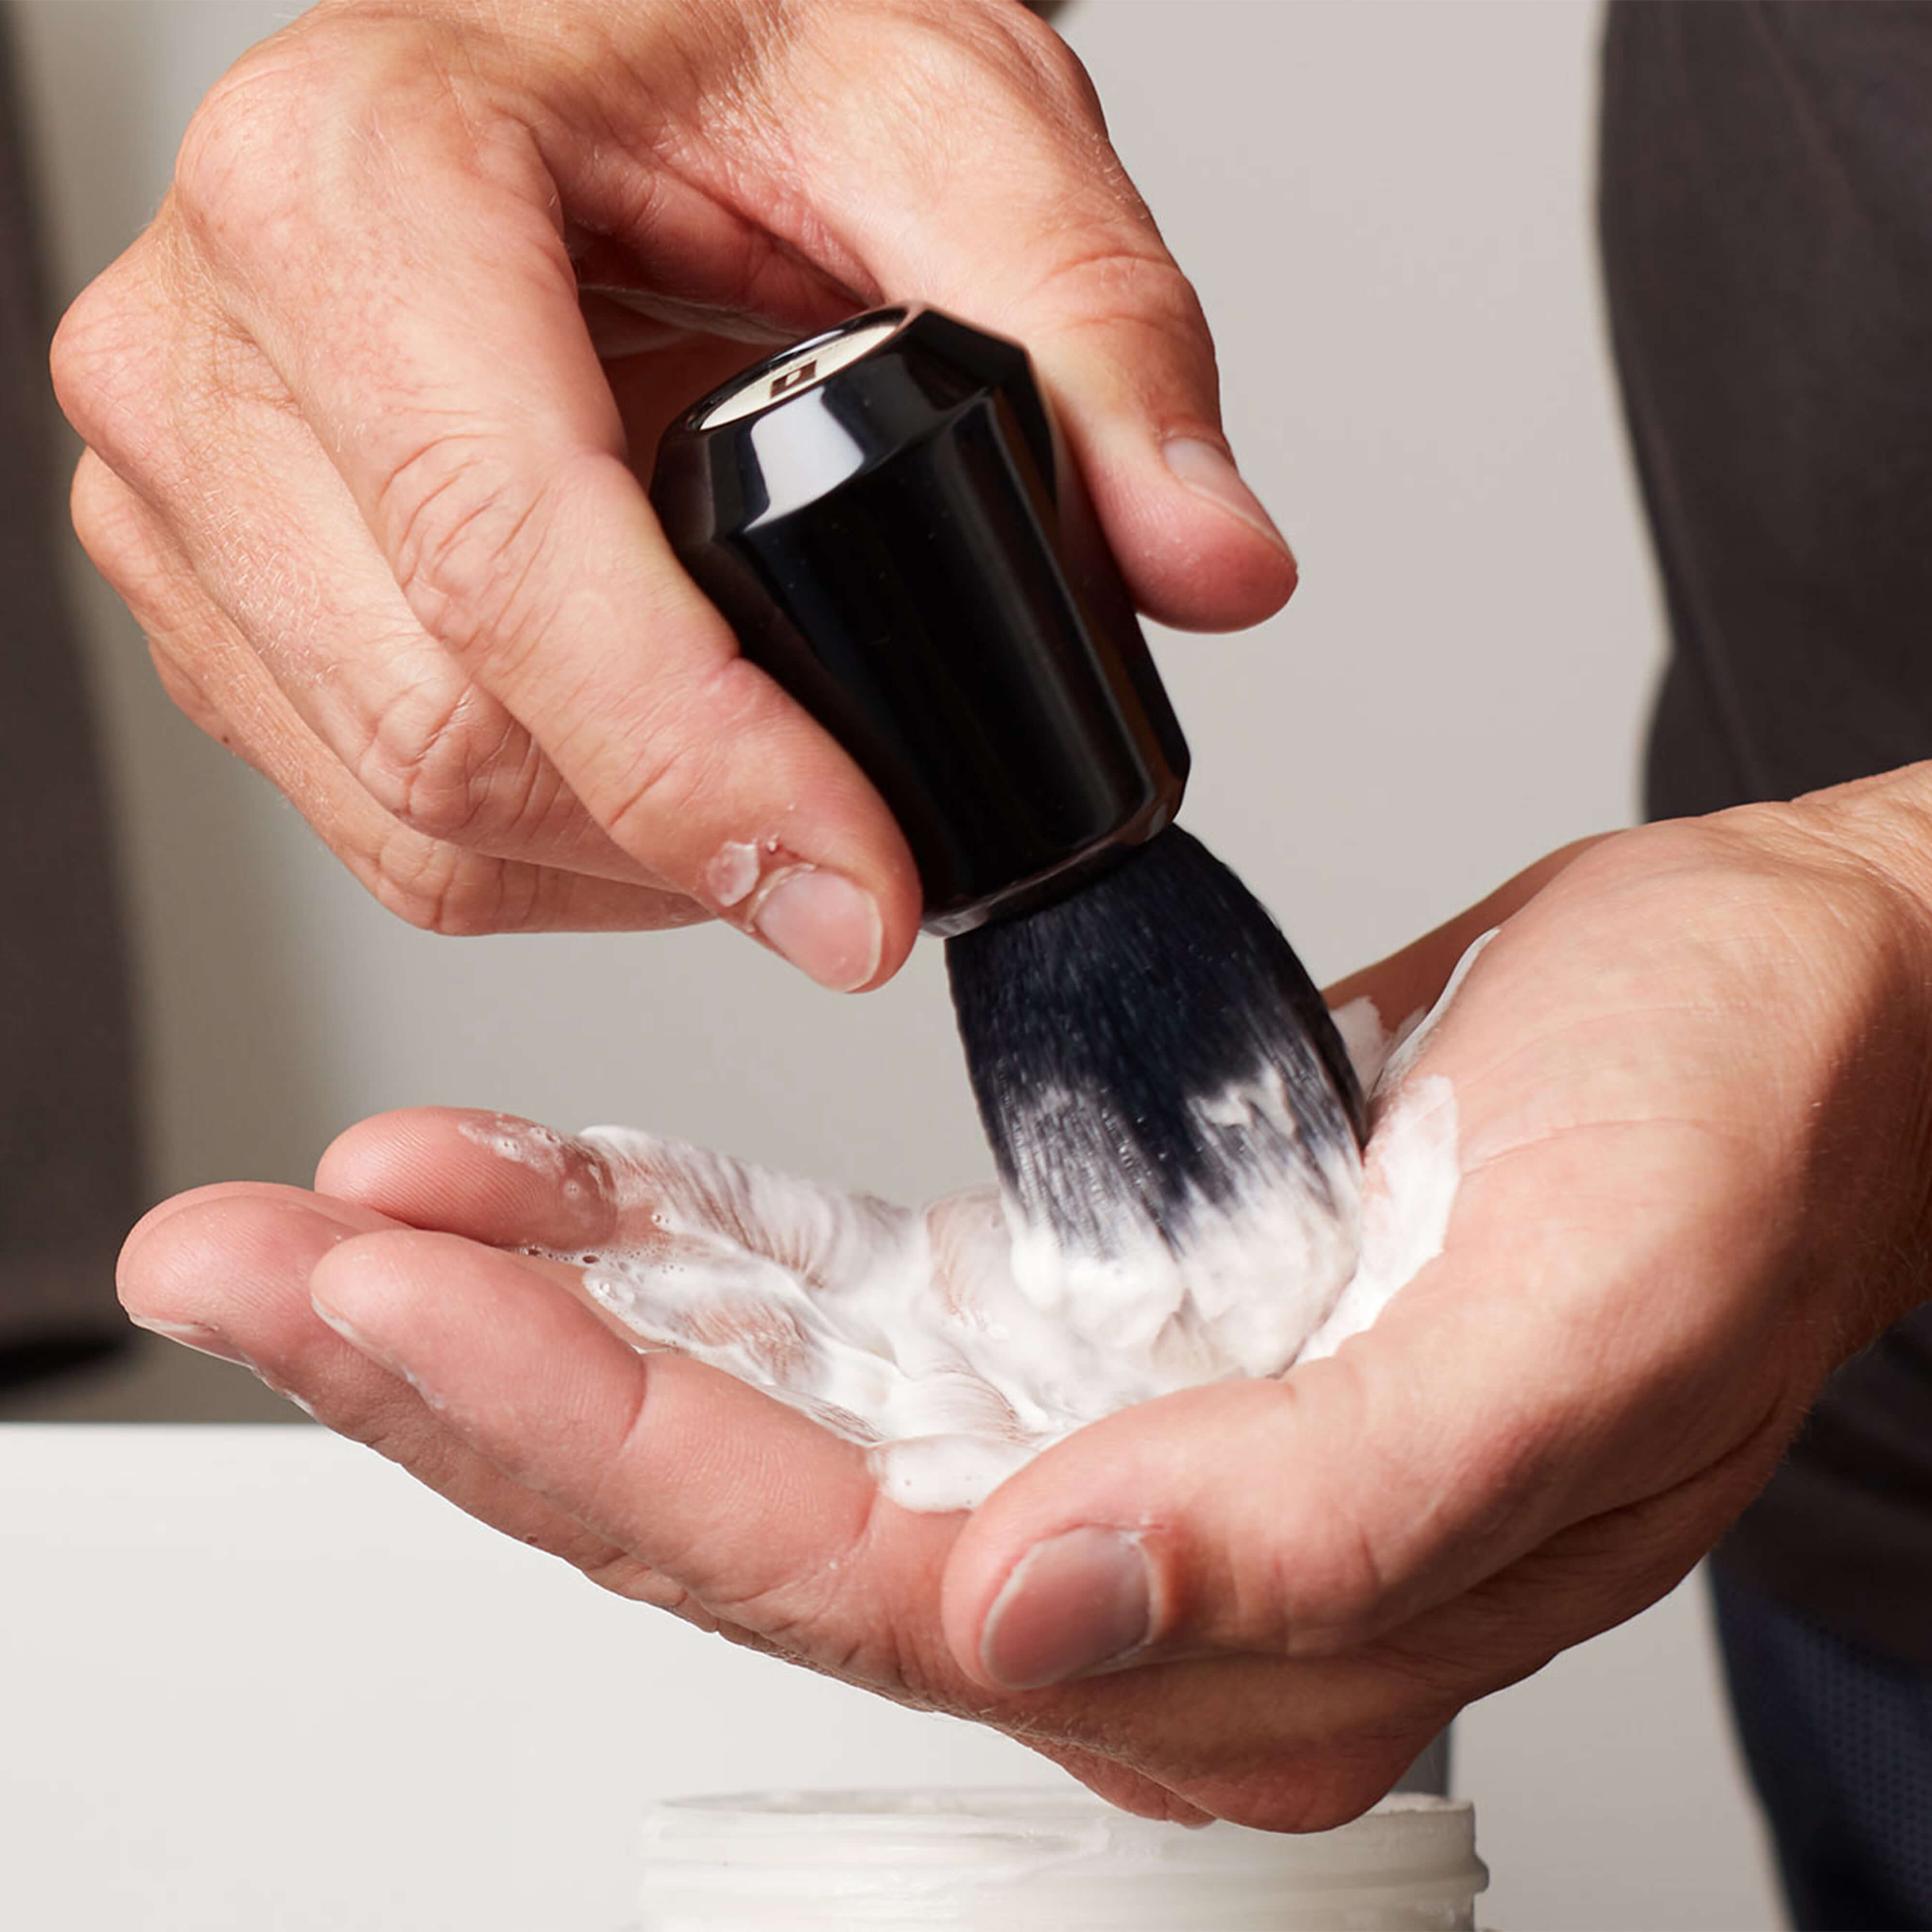
STEP 2: CREATE A LATHER, AND SOAK IT ALL UP

Gather the shaving cream bowl, brush and shaving cream and start running hot water over the bowl and brush. Shake excess water from the bowl and add a dollop of cream.
TIP: Shake out the brush to make sure there’s no access water, otherwise you’ll have a watery lather, which isn't ideal for safety razor wet shaving.
STEP 3: LATHER, SWIRL, APPLY

Swirl the brush in the bowl until you have a thick, creamy mixture. Then with the brush, work the lather onto your face and neck, using a circular motion to get hair to rise off the skin for an easier shave. Plus, this rids any debris from the hair.
TIP: To even out the thickness of the lather, finish with a painting motion.
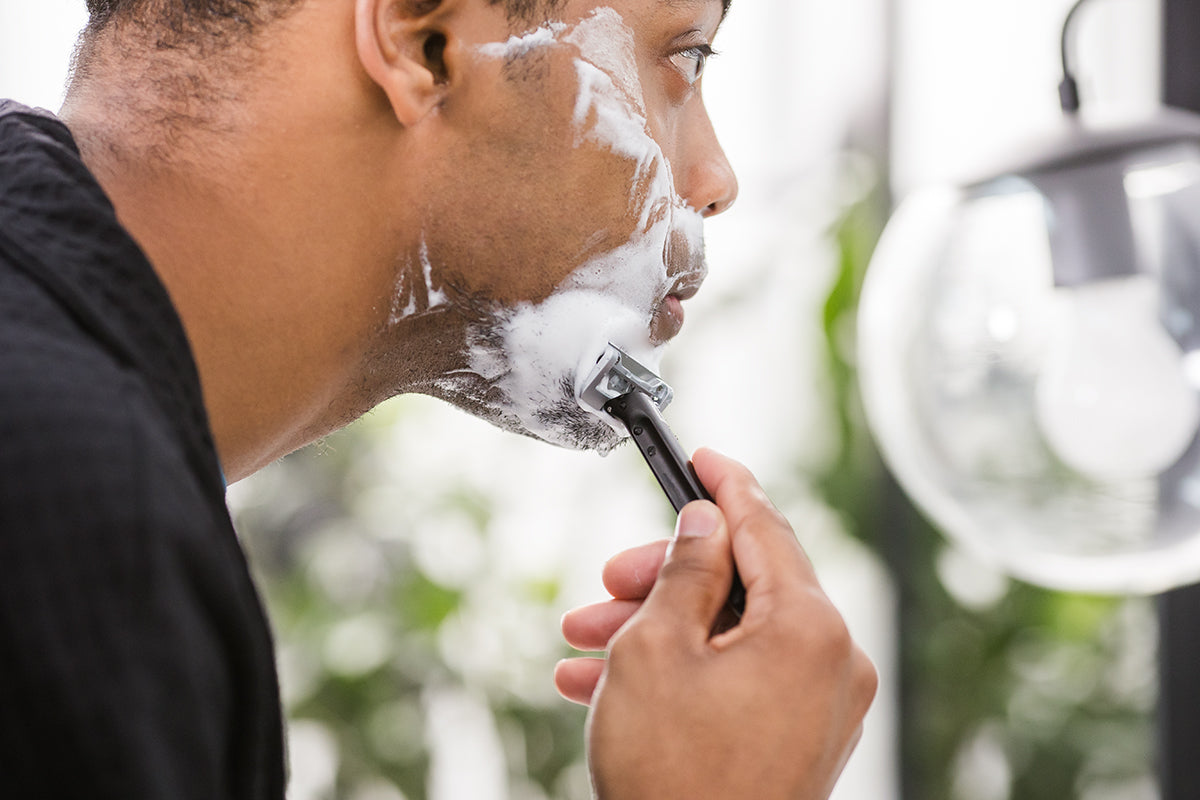
STEP 4: START SHAVING

For additional tips and tricks on how to shave with a OneBlade safety razor, check out our how-to-guide. Because it’s a single blade razor, you’re going to want to use the multi-pass shaving technique, meaning you’ll shave multiple times. This gets you a closer shave without irritation. See which multi-pass shaving technique is best for your skin here.
For your first pass, apply small parallel strokes with the grain. Avoid adding any pressure, allowing the blade to do the work. Then re-lather and go across the grain in a perpendicular motion. Re-lather again, this time going against the grain moving from bottom to top. For some, it takes as little as 2 passes and depends on factors such as skill level and hair growth.
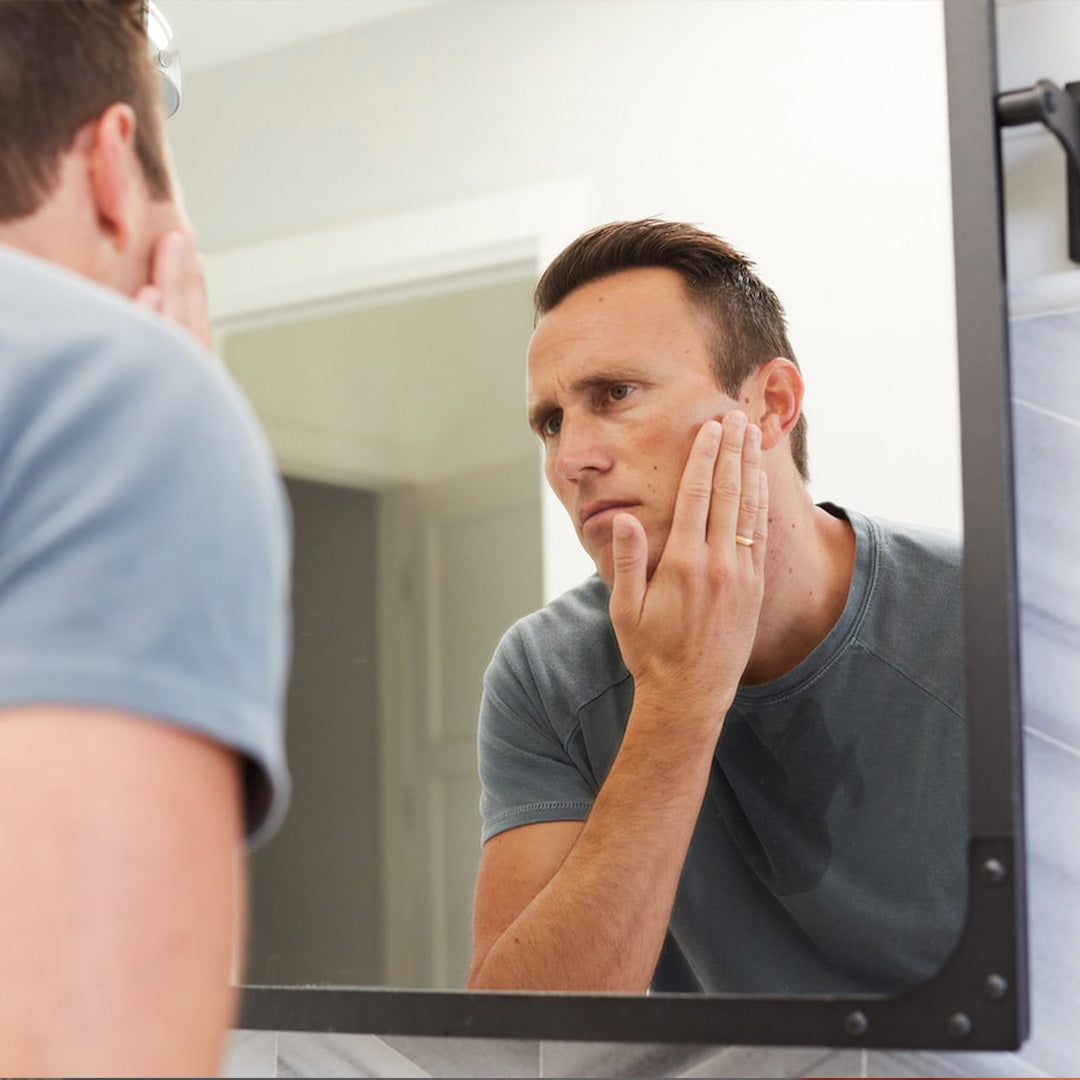
TIP: After shaving, rinse your face with warm water followed by splashing cold water to close pores.
STEP 5: THE FINISHING TOUCH

Use after shave to avoid razor burn and irritation. But forgo the alcohol-based options for natural ingredients, like our after shave balm, which uses essential oils to heal and restore skin.
TIP: Dry your face thoroughly before applying after shave, as the water dilutes it.
WET SHAVING FAQS
So how long does safety razor wet shaving take?
When perfecting any technique, there’s a learning curve. People who are new to wet shaving, the process takes anywhere from 15-20 minutes. However, soon enough the entire process could take as little as 5 minutes.
Is safety razor wet shaving suitable for all skin types?
Wet shaving can be beneficial for various skin types, including sensitive skin, as it involves thorough preparation and the use of quality shaving products. However, individuals with extremely sensitive skin may need to be cautious and choose products specifically formulated for their needs.
How often should I wet shave with a safety razor?
The frequency of wet shaving depends on personal preference and hair growth. For most individuals, shaving every one to three days helps maintain a neat appearance. However, some may prefer daily shaving, while others may shave less frequently. Experiment to find the frequency that suits you best.
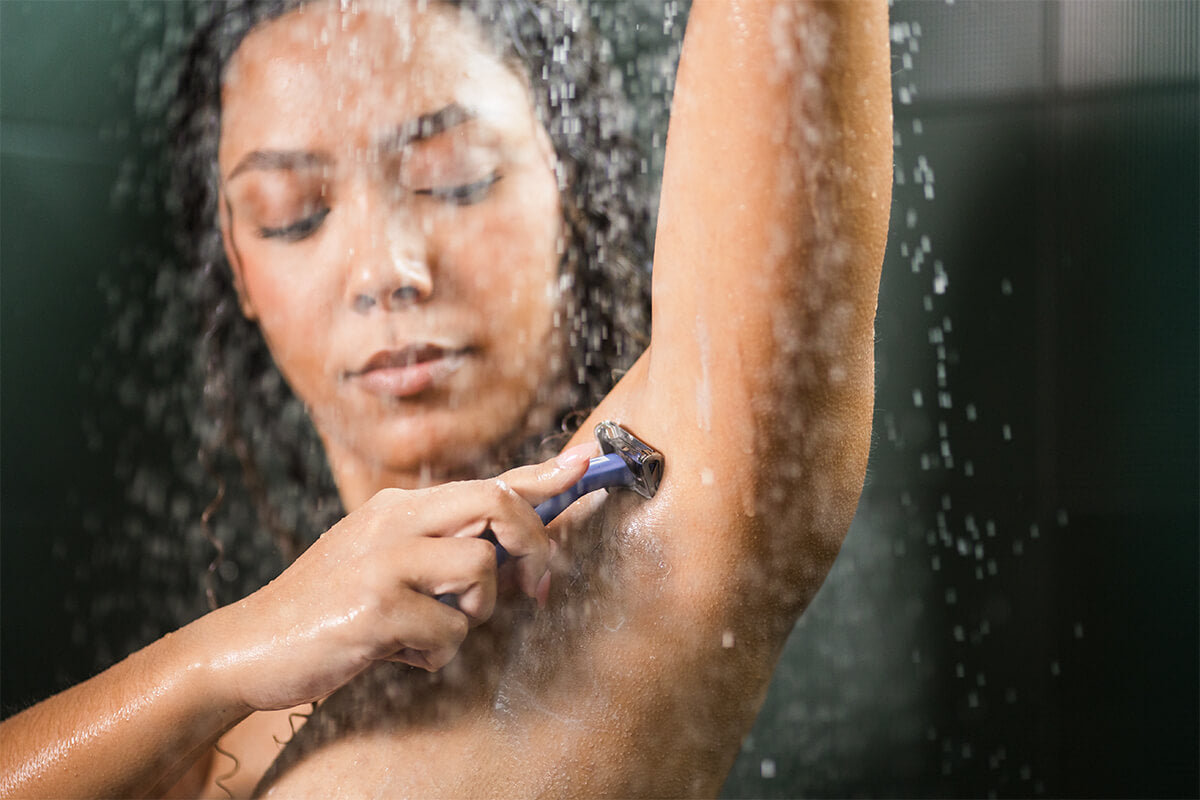
Can women also benefit from wet shaving?
Absolutely. While wet shaving with a safety razor has traditionally been associated with men, many women find it beneficial for achieving smooth and irritation-free skin, especially for areas like the legs and underarms. The process remains largely the same, focusing on proper preparation, lathering, and technique.
Are there specific techniques for shaving different areas of the body?
Yes, adapting your shaving technique to different areas can enhance results and minimize irritation. For example, when shaving the face or legs, use gentle, short strokes in the direction of hair growth to reduce the risk of nicks and cuts. For more sensitive areas like the neck or bikini line, take extra care and consider using a lighter touch.
What are the benefits of using a single-blade safety razor?
Single-blade safety razors, like the OneBlade, offer several advantages over multi-blade razors. They provide a closer shave with fewer passes, reducing the risk of irritation and ingrown hairs. Additionally, they're more environmentally friendly and cost-effective in the long run, as replacement blades are typically more affordable.
How do I prevent razor bumps and ingrown hairs when wet shaving?
To minimize the risk of razor bumps and ingrown hairs, ensure your skin is properly hydrated before shaving and always use a sharp blade. Avoid applying too much pressure, as this can cause irritation, and shave in the direction of hair growth whenever possible. Exfoliating regularly can also help prevent ingrown hairs by removing dead skin cells that can block hair follicles.
Can I wet shave if I have acne or sensitive skin?
Wet shaving can be suitable for individuals with acne or sensitive skin, but it's essential to take extra precautions. Use a mild, non-comedogenic shaving cream or gel and avoid shaving over active breakouts. If you have particularly sensitive skin, consider performing a patch test with new products to check for any adverse reactions.
Is wet shaving more environmentally friendly than using disposable razors?
Yes, wet shaving with a reusable safety razor is more eco-friendly than using disposable razors. Disposable razors contribute significantly to plastic waste, whereas safety razors produce minimal waste, as only the blades need replacing. Additionally, many wet shaving products come in recyclable or biodegradable packaging, further reducing environmental impact.
Can I travel with wet shaving supplies?
Yes, wet shaving supplies are travel-friendly, although some precautions may be necessary. Ensure your razor is securely packed to prevent damage to the blade or other items in your luggage. Opt for travel-sized versions of your favorite shaving cream or invest in solid shaving soap to minimize the risk of spills.
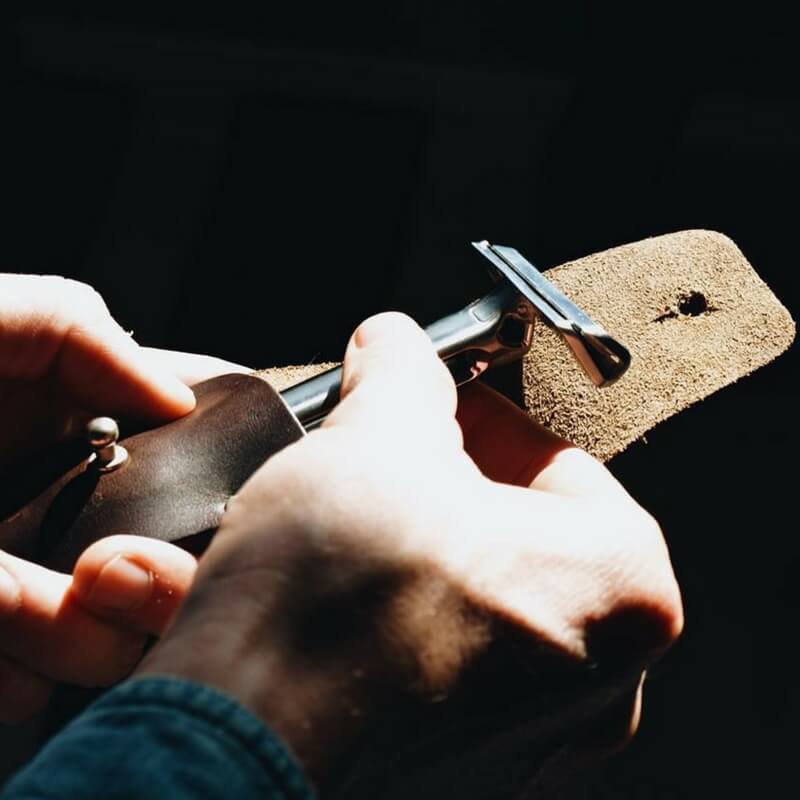
How do I care for my shaving brush and razor?
Proper maintenance is key to prolonging the life of your shaving brush and razor. Rinse the brush thoroughly after each use to remove any remaining shaving cream or soap, then shake out excess water and allow it to air dry. Similarly, rinse your razor under running water and pat it dry to prevent rusting. Periodically clean your razor with a mild detergent to remove any buildup of shaving cream or skin oils.
Ready to Start Wet Shaving with a Safety Razor?
Wet shaving is the best way to get a close shave and better skin, allowing you to enjoy the process and prepare for the day ahead. Shop our luxury single blade safety razors for the ultimate wet shaving experience.