


A key element to getting the perfect shave is knowing how to properly use a shaving brush. We covered the benefits of shaving brushes along with a brief overview of the various types of brushes available in the marketplace in A Guide to Shaving Brushes: Part 1, but today we’re going to spend time reviewing proper lather building technique, tips for ensuring a longer-lasting brush, as well as our favorite way to clean your shaving brush.
6 Steps to the Perfect Shaving Lather
For the sake of this guide, we’ll be following a “face lathering” approach which is simple to learn and works extremely well with softer shaving cream formulas like our Black Tie Shaving Cream.
What you’ll need:
- Warm water
- Shaving brush
- Shaving cream
- Mug or bowl
- Clean rag or towel
Steps:
- Start by soaking the bristles of your shaving brush in warm water for at least 20 seconds. You can hold the brush with the bristles placed under running water — or — if you’re shaving immediately after a hot shower (which we always recommend), simply fill a cup or mug with some warm water beforehand and leave the head of your brush submerged while you shower. Always be sure not to have the brush fully submerged in water as you want to avoid getting the knot inside the handle wet whenever possible (a knot with prolonged exposure to moisture may lead to excessive bristle hair loss).

You want to make sure that the water used here (and anytime with your shaving brush) is warm to the touch and not too hot (if it’s too hot, you can actually damage the brush hairs, which gets translated into “splitting” or “fraying” of the tips of the bristles). A good rule of thumb is any water that is too hot for your skin is too hot for your brush.
- Remove your brush from your cup/mug or under a running faucet, then squeeze the excess water out into your sink and give it a gentle shake. No need to squeeze your brush as hard as you can, as you still want there to be some moisture. You just don’t want the brush to be dripping with water at this point.

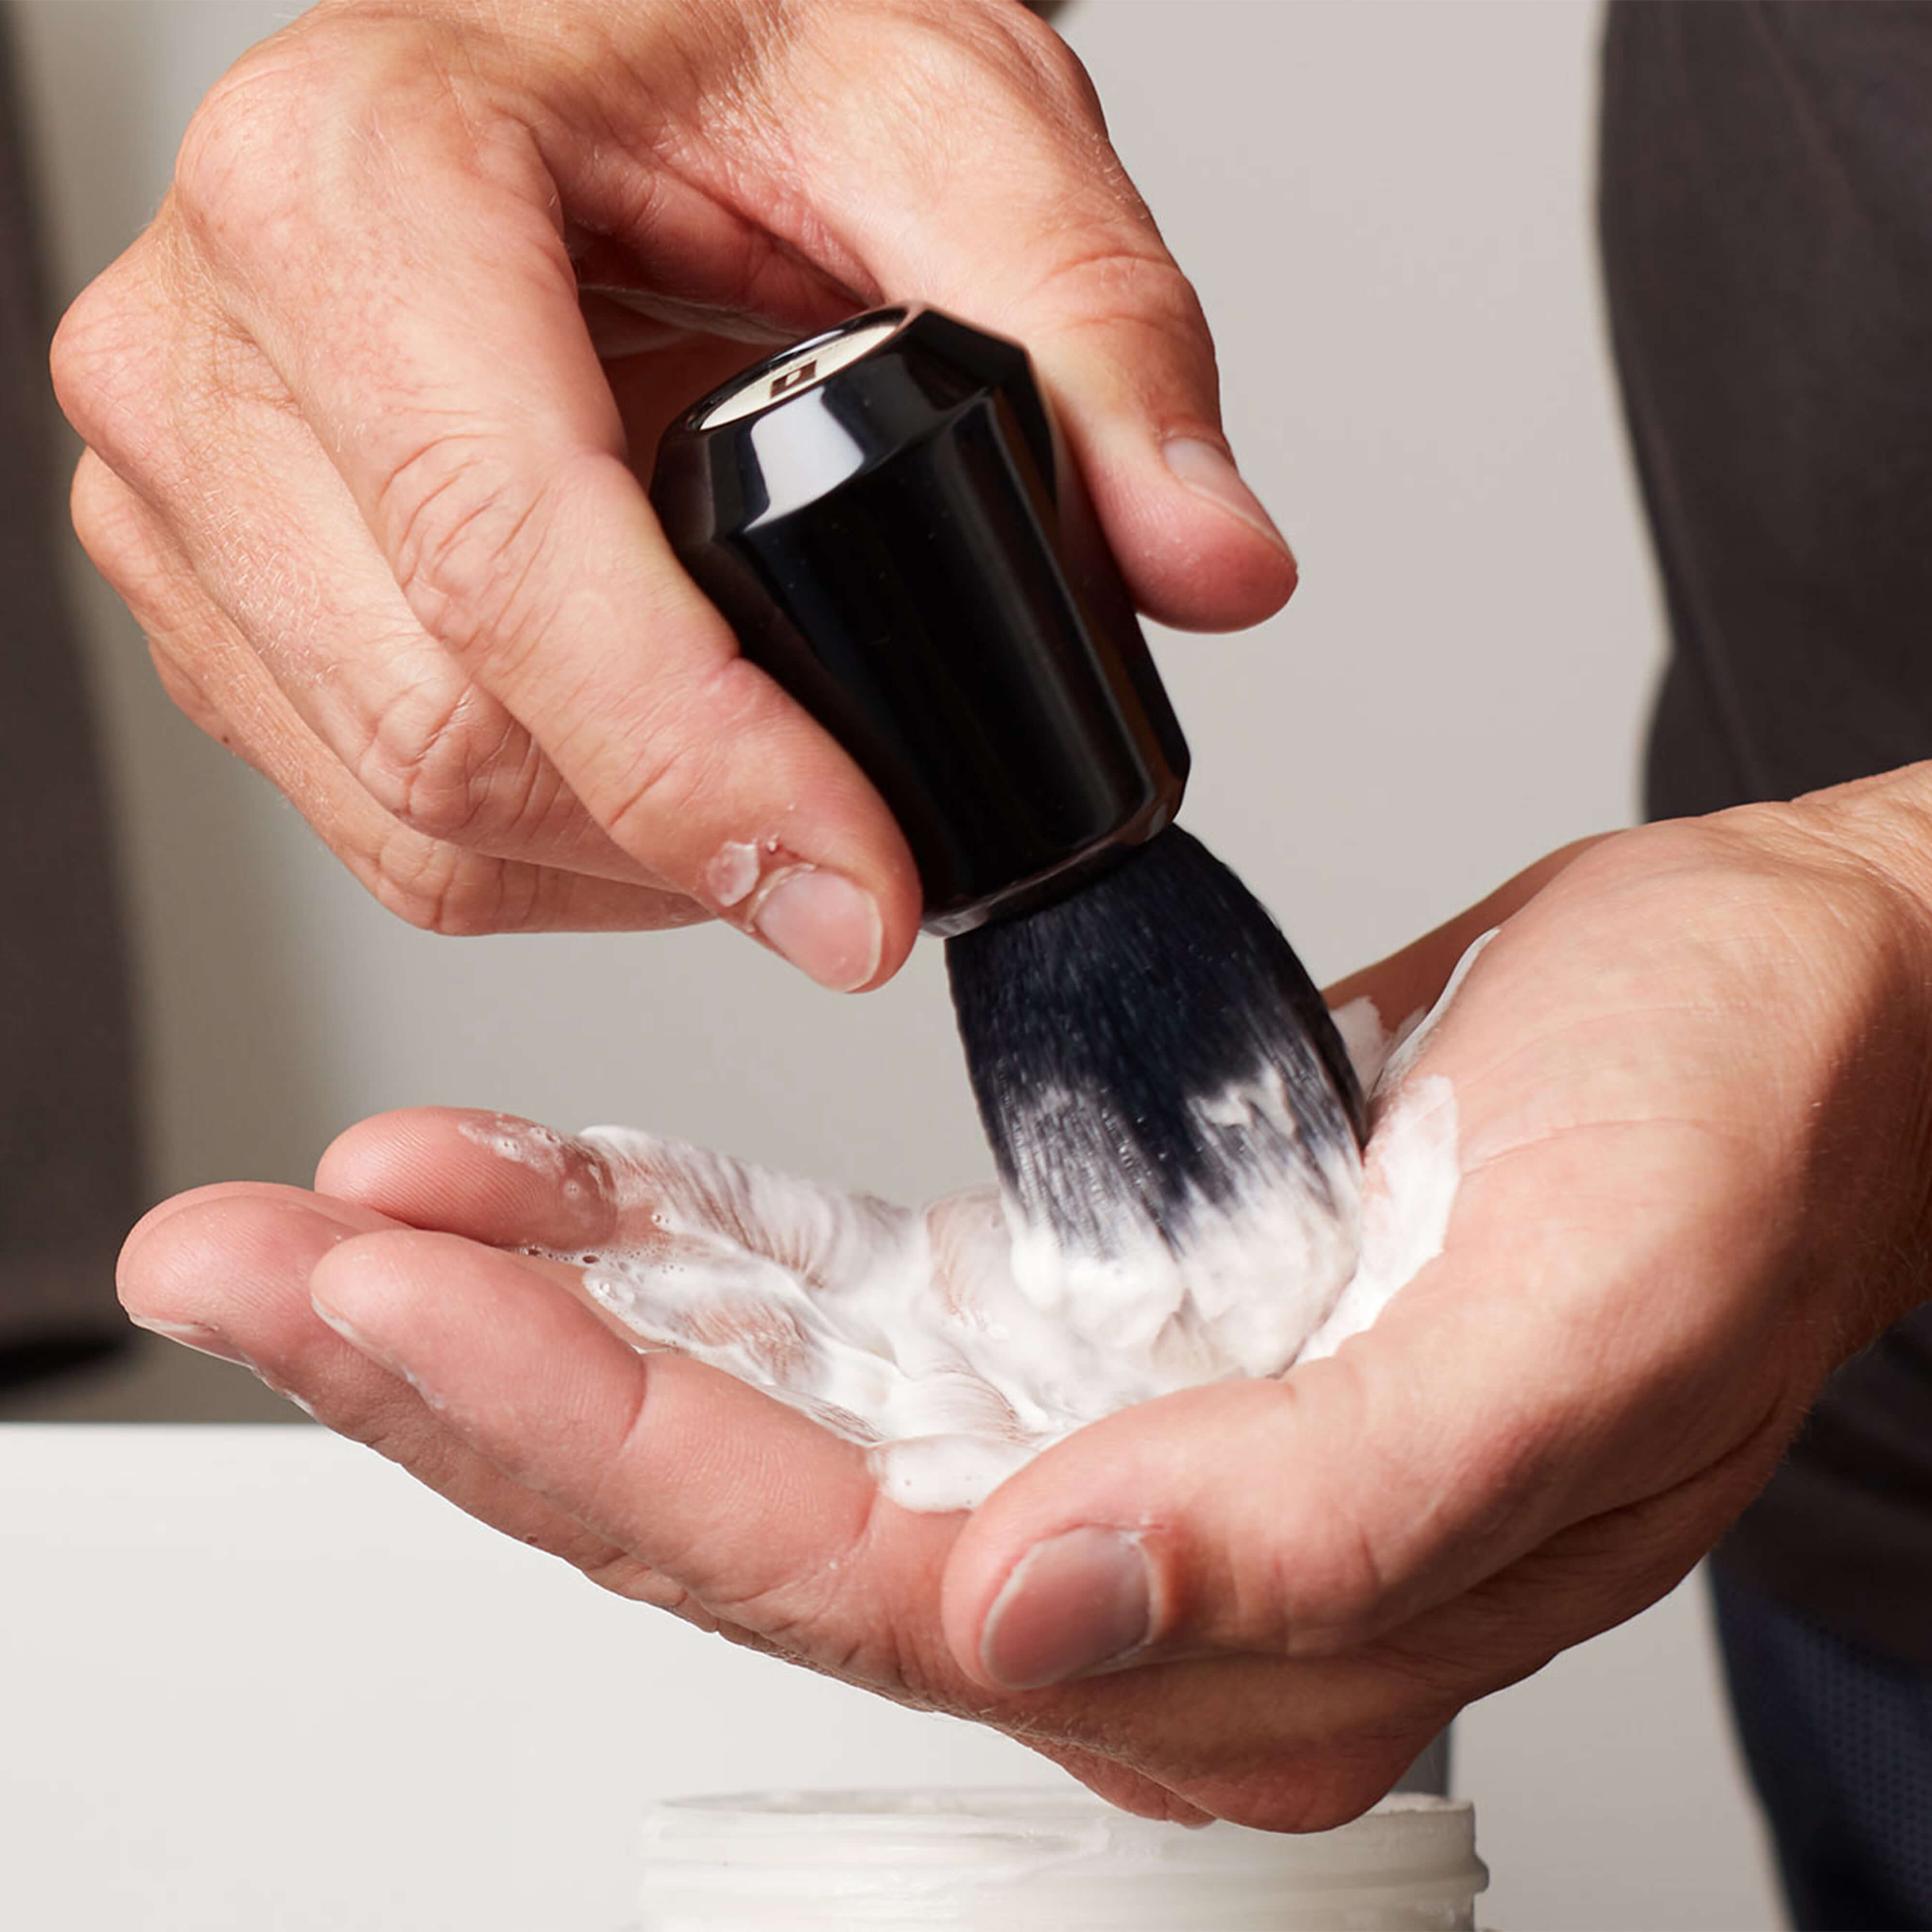
- With the bristles of your brush nice and moist, take a quarter-size amount of shaving cream with your index and middle fingers and work the product into the tips of the bristles for a few seconds (we prefer this over dipping your brush directly into your shaving cream container as this latter method often leads to grabbing too much shaving cream that’s not necessary and will be wasted).

- Take your brush, which is now loaded with shaving cream, and begin to run it along your face and neck area (or whatever area you are shaving) in “paint brush” style strokes to get a thin layer of product applied everywhere. Then, start to build up your lather using stronger paint brush and circular-motion strokes for about 20 seconds. If your lather is dripping or seems too runny, squeeze the brush over your sink by the base of the bristles so that excess water is removed. If your lather seems too dry or isn’t building up enough volume, add a drop or two more of water (you won’t need a lot), and repeat your paint brush and circular whisking.

You’ll know you have a good lather when it’s rich and you can no longer see skin — typically 20-60 seconds worth of lather building. As a rule of thumb, the longer you whisk, the richer the lather, the smoother the shave and the more your skin will be protected.
- Once you complete your first shaving pass, you’ll want to repeat step #4 for your additional shave passes (you should have plenty of leftover shaving cream loaded in your brush for these). Add tiny amounts of water to your brush as needed if your lather starts to feel dry, or squeeze out excess water if it seems too runny.
- When you’re finished with your last shaving pass, rinse your brush under warm water to remove any leftover shaving soap. Squeeze out excess water and gently dry on a clean rag or towel. Then store the brush in an open-air environment (don’t just throw a damp brush back into a drawer or medicine closet).

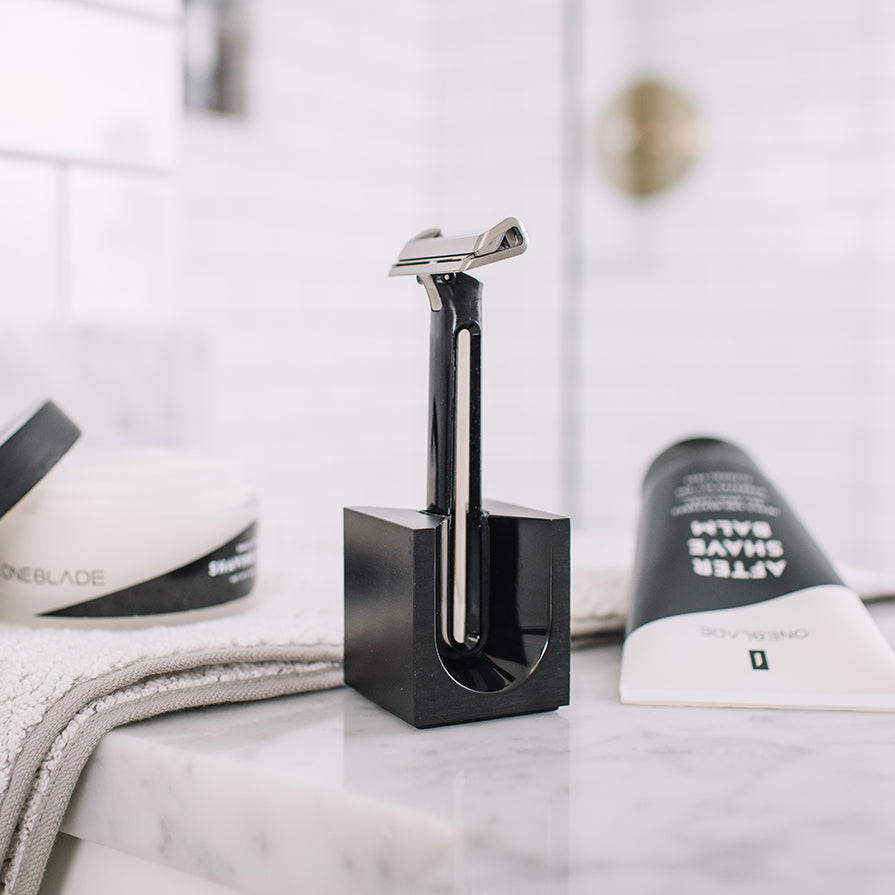
For even better results, allow your brush to dry vertically such that the bristles are pointed down, which will ensure little-to-no moisture buildup in the brush’s knot (we have a great stainless steel universal brush stand for this purpose pictured below with our Thater x OneBlade Silvertip Badger Brush).

And voila — with these steps, you’ll be on your way to building incredible lathers for better shaves and better skin.
7 Tips to Ensure a Longer Lasting Shaving Brush
The following tips are general instructions on how to get the most use out of your shaving brush. Keep in mind that a brand-new brush will naturally shed some bristles — these are likely shorter hairs that did not quite reach the knot’s adhesive base and this should not be a cause for concern.
- Never use water hotter than what you can endure for a few seconds.
- Do not mash the brush hairs when lathering or drying; if you bend the hairs too much, you can actually cause breakage at the tips.
- After use, rinse your brush thoroughly, shake out any excess water, and dry the brush gently on a clean towel.
- Always dry the brush in open air – DO NOT store a damp brush (e.g. throw it into a drawer or medicine cabinet immediately after use).
- Allow your brush to completely dry before using again.
- When squeezing excess water out, simply squeeze the knot and never pull the bristles.
- Never throw your shaving brush in the dishwasher!
A Super Easy & Highly Effective Way to Clean Your Shaving Brush
If your brush begins to smell, becomes affected by mildew, or seems to have a build-up of dry soap, it’s a good time to give it a nice cleaning. The below Castile Soap + White Vinegar method works great, is ultra-affordable, and will ensure that you’re not damaging your brush with harmful chemicals.
What you’ll need:
- Warm water
- Distilled white vinegar
- Castile soap (we like Dr. Bronner’s Unscented Liquid Soap) or a mild, organic detergent
- Mug or bowl
- Clean rag or towel

Steps:
- Run your brush under warm water to remove any soap build-up from your previous shave. Squeeze a few drops of Castile soap in your hand and gently work into your bristles for about 15 seconds. Rinse in warm water.
- Combine water and a splash of white vinegar in a mug or bowl, then swish the brush around in the solution and let it soak for up to 5 minutes.
- Give your brush one last rinse under warm running water and squeeze out any remaining moisture.
- Allow your brush to air dry before storing.
With the above method, it's important to always rinse the brush thoroughly in between your Castile soap and vinegar steps as these do not mix well (Castile soap is a base and vinegar is an acid that, when combined, create unsaponified soap). But used individually with water rinsing in between and they're a perfect pair.
Conclusion
Hopefully we have addressed every question you may have about shaving brushes in this post or our part 1 blog, but if you’d like any additional assistance, please don't hesitate to comment below or email us at hello@onebladeshave.com.

